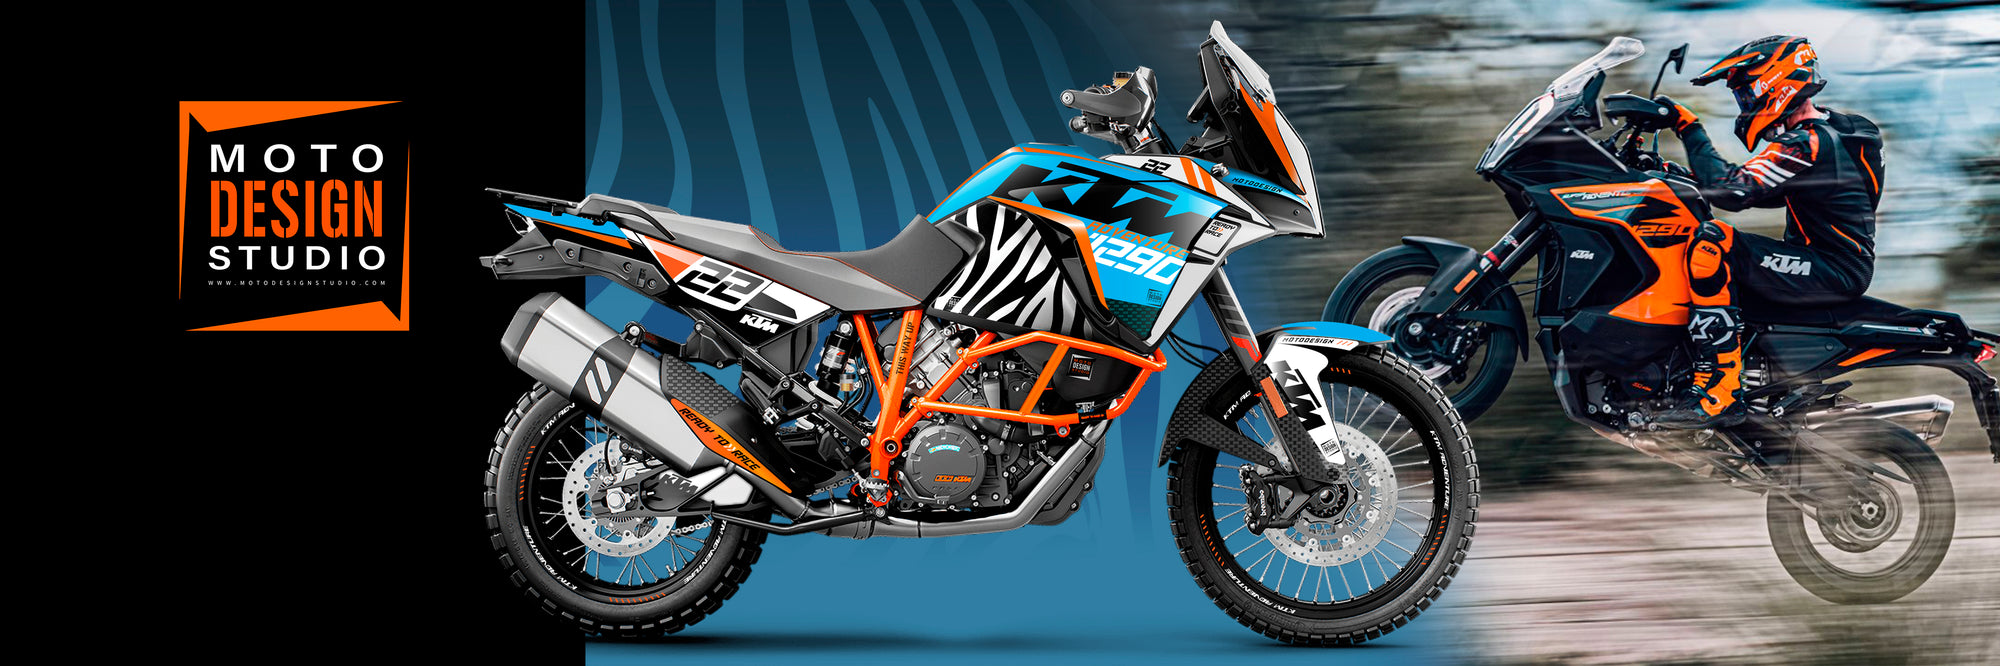
Application and mounting graphics
General Instructions:
On receiving: We ship our decal kits face in
together and taped together, this protects each piece from scratching
during transit. Carefully cut the small tape pieces with very sharp
craft knife/xacto or scalpel.
Firstly wash, wash and wash your bike well, dry it...Preparation is absolutely crucial for that Pro finish.
So, you’ve got your new decals in front of you. There is just one
problem; they’re not on the bike yet. No need to worry, since it’s
actually not as difficult as you might expect. If you are already
experienced at applying decals it might be wise to follow along anyway,
since there might be some information that could be of help.
STEP 1: CLEANING & DE-GREASING THE PLASTICS
While cleaning and
de-greasing might not be the most fun part of the process, it is
perhaps the most important one. If you fail to clean and de-grease the
plastics properly, the lifespan of your graphics will drastically
decrease or, worse, the decals might come off. Since you don’t want this
it is important that you follow along and take your time doing this.
We always advise to apply graphics to new plastics. If you do not
have new plastics, first make sure that your old or used plastics are
clean. Remove any dirt and grease, even on the areas where you won’t be
applying the graphics. There is nothing worse than sand getting under
your graphics, and you will feel really silly if it happens because you
skimped out on the cleaning.
After you cleaned your plastics, the most important step comes;
de-greasing. While opinions wildly vary on what to use for de-greasing,
we have come to the conclusion that a good quality Isopropyl Alcohol is
the way to go. Some prefer brake cleaner, but check that it cant harm
paint or plastics. Start by getting a few cloths that won’t leave any
fibers behind, and spray a good amount of de-greaser on it, soaking it.
The more the better.
Make sure you thoroughly scrub every inch of the surface,
especially the edges and recessed areas. While doing this, you might
notice that the plastics can become dull. The duller the plastic, the
better it is. Take your time doing this and really put some effort into
it. If you forget a spot where stress in the decal might occur, it will
lift and this decreases the lifespan.
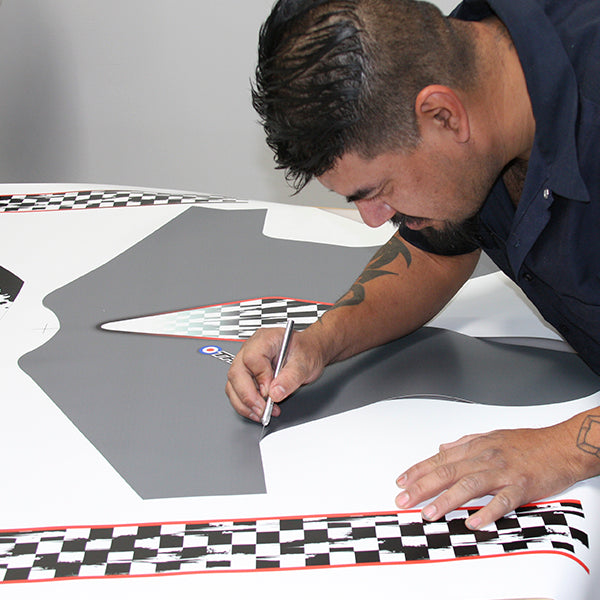
STEP 2: APPLYING THE DECALS
Now
comes the fun part. Start with something easy, like a front number
plate or small piece for instance. These are mostly flat and will be a
good exercise before you start with the more difficult parts.
Mount in a dry and warm room, preferably indoors and at room temperature.
Allow
several hours of relaxed focused time, a full afternoon will be
necessary for a full kit. Be patient and take your time..DO NOT RUSH.
NOTE: Your decal kit is NOT a wrap and therefore has small
margins around most of the edges that the bikes bodywork will show
slightly.
Remember - you are not wrapping, you are applying pre-cut
graphics so always center the parts first so the margins and space looks
good around your decal and that any holes or cuts for fixings /
indicators etc align correctly. Tape everything in place, get a nice
overview of the placement, alignments and fitting. Pay extra attention
to parts that need to align up with other parts and make sure margins
are equal around the parts.
Grab your decal and, without removing the backing paper, check if
it is the correct one. Place it over the correct area/panel and check
that it aligns/fits correctly. Knowing how it goes on will help you once
the adhesive is exposed, making it less of a gamble to position it.
There are two ways of doing this. You can place the graphics onto the
part with the backing paper still on and use some auto masking/painters
tape to hold it in place. Tape everything in place, get a nice overview
of the placement, alignments and fitting. Pay extra attention to parts
that need to align up with other parts and make sure margins are equal
around the parts.
Whilst the decal is taped in place on the panel, remove the
masking tape at one end, lift the end of the decal carefully and pull
back the backing paper to half way, carefully cut the backing paper at
the half way point and remove this half of the backing paper, you know
have a decal that has half of the adhesive area exposed and the other
half still with backing paper and still taped in place to the panel,
this way the decal should not move from its position, then gently lay
the decal onto the panel at the middle of the decal first and then
carefully press the decal down and work towards the edges usuing a
micofibre cloth or soft squeegy. Once one side of the decal is fixed
down, lift the other side up, remove the remaining backing paper and lay
down again ,working from the middle of the decal. Once the decal is in
place, go over it to press firmly down in place this will activate the
adhesive.
We do not recommend taking the whole backing off in one go. This is a recipe for disaster.
Here we go....Basically it comes down to which technique you feel
most comfortable with. We recommend a dry-mounting procedure on most
graphics and to carefully use heat assistance (in the form of a hair
dryer or heat-gun but used carefully) to warm up tricky places and with
pressure form over parts like curves, angles and edges. Be careful not
to overheat though.
Some people prefer wet-mounting but it can be
tricky to get the balance of water and soap correct and more
importantly, if you do not use a squeegee and get ALL water out from
underneath this can and will affect how the graphics stick/adhere.
When
applying the graphics, always make sure you start in the middle and
work your way outward to remove any air. If you push the air to the
inside, you can trap it and you would have to peel the decal off the
remove it or puncture holes to let the air escape.
When applying
the decal, try to avoid using heat in the beginning. Only when the decal
becomes too stiff or when it has to fold over an edge should you start
using heat. Heat will activate the adhesive, softening it and will
remove the air channels that are in the glue. This means that the air
won’t be able to escape anymore, thus you will get more and bigger air
bubbles.
When applying the decal, use a lot of pressure. The harder you
press, the better it will stick to your plastics. Pressing hard on the
decal also removes the air channels that are present in the glue,
causing more glue to stick to the surface.
STEP 3: POST HEATING
If everything went right, your decals should
be applied pretty neatly. The last step is to make sure that they stay
on. To increase the lifespan of the decals you will have to post heat
the edges and areas where there might be stress in the decal. The heat
will activate the glue. With some vinyls you would have to heat it to
100 degrees Celsius, but that won’t be necessary with these decals. Just
make sure to heat the edges gently and to press them down firmly.
STEP 4: WAIT
Before you ride your bike to show your new graphics
off, wait at least 24 hours to do so. If possible, make it 48 hours. The
adhesive is not yet at its maximum strength as this takes time. The
bond between the plastic and the glue will get stronger over time. Make
sure that your bike is stored in a somewhat neutral environment in
normal temperatures to let it cure.
After 24 to 48 hours, the decals
might have shrunk a little bit. This is normal, but it can cause the
decal to lift in some areas, especially on the edges and on high stress
places. Make sure to press these down again and heat them up a bit. If
you do this correctly, the decal won’t come off anymore and should sit
pretty for a long time. Do not forget this step. If you go riding and
dirt gets under the decal, you will never be able to get it to stick
properly and this will greatly reduce the lifespan of the decals.
STEP 5: AFTER-CARE
Always wash you bike with warm soapy water,
gently sponge ( Be very careful with power washing as this can cause
corners to lift and then the decal will degrade faster and become
“ugly”.
Use soft microfibre clothes to dry and also to polish.
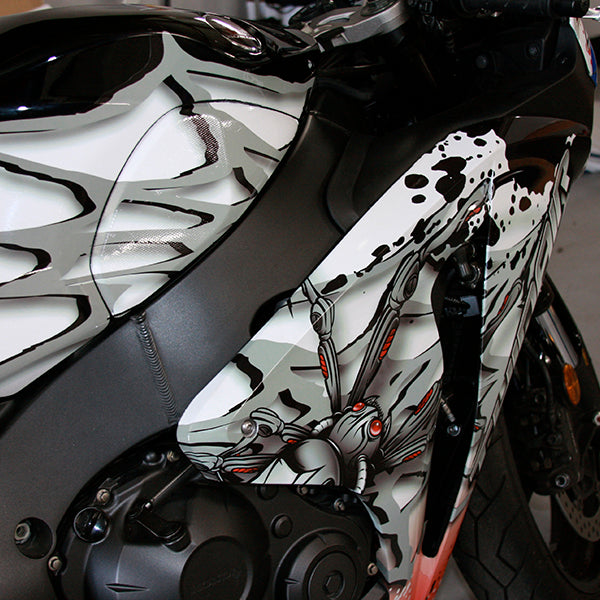
If applied correctly your graphics are designed and manufactured to last several years or more.
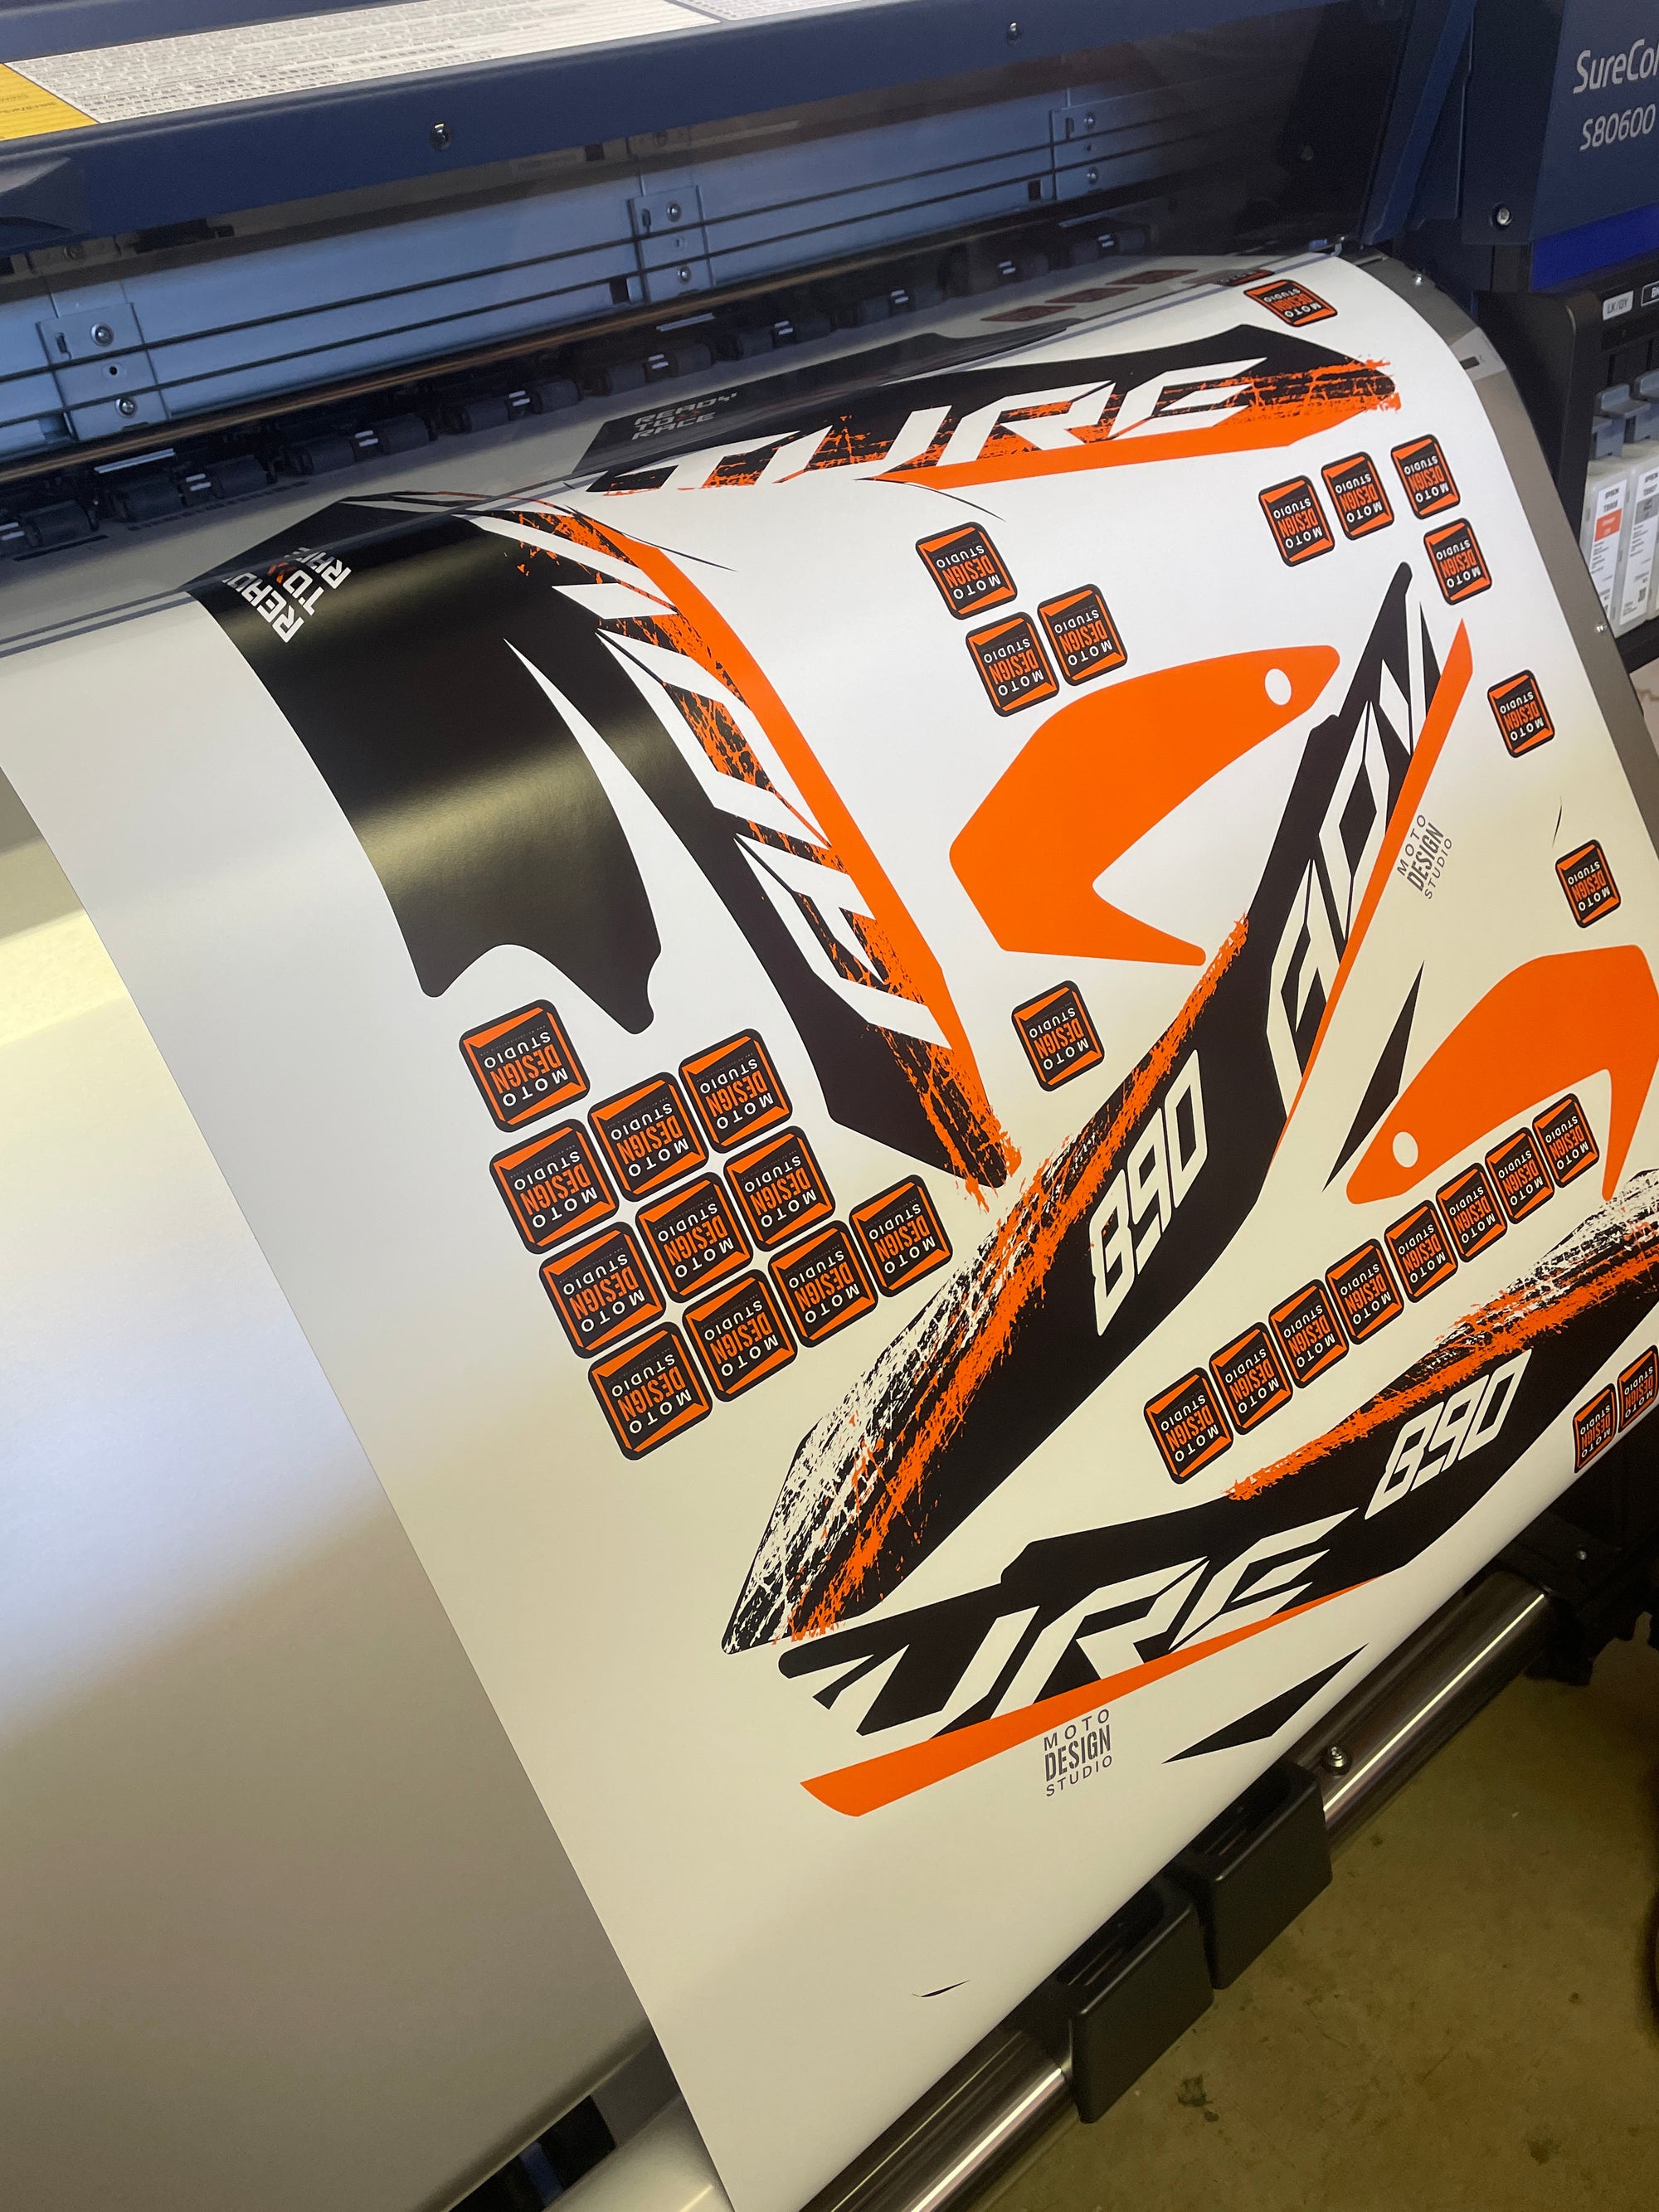
Moto
Design Studio, use only the very best materials. Substance or 3M vinyl
and laminations. Print is the highest resolution available and printed
on our Epson 10 color Eco Solvent UV resistant printers.
For further information or help
Please email us at info@motodesignstudio.com
We will be very happy to assist
www.motodesignstudio.com